
Adding a printer to Windows 10 is very simple, although the procedure for wired devices is different from wireless devices.
Note: Because Windows 10 supports most printers, you probably won't need to install special software for your device.
How to add a printer to Windows 10: with Network (local)
A network printer connects via local area network, such as Bluetooth or WiFi. Before you connect to your printer, turn it on and let it join the network.
Note: You may need admin permission to install a shared printer, such as a printer on a corporate intranet.
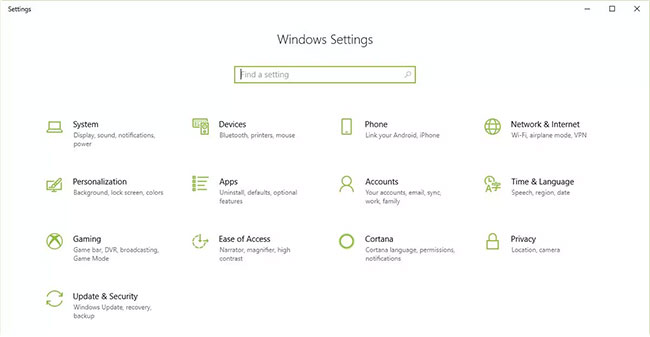
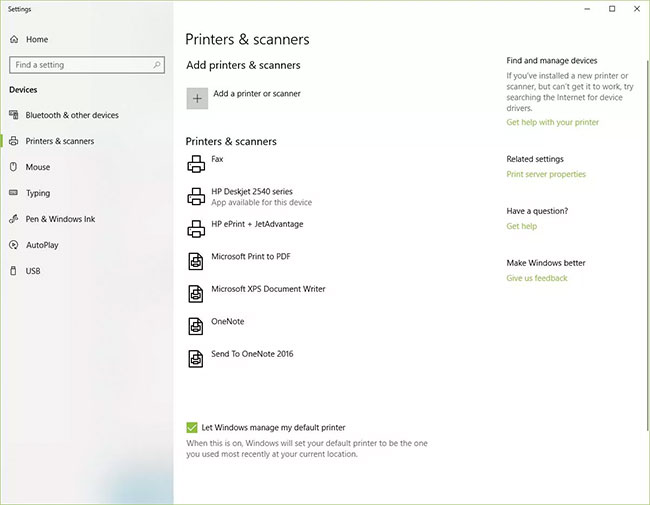
1. Go to Start> Settings.
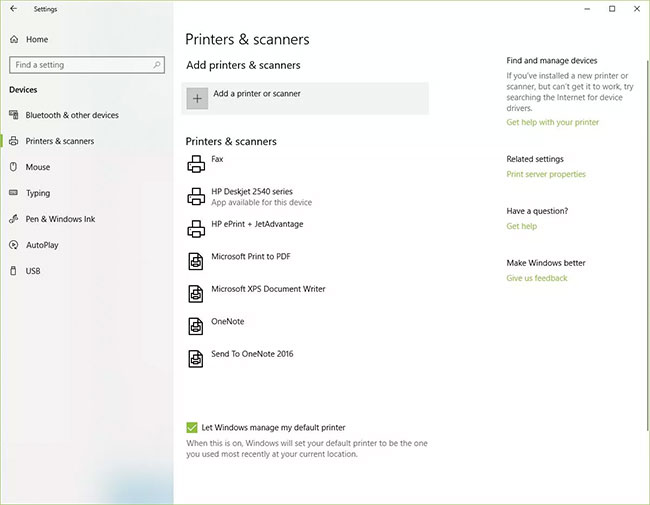
2. Select Devices.
3. Select Printers & Scanners.
4. Select Add Printer or Scanner.
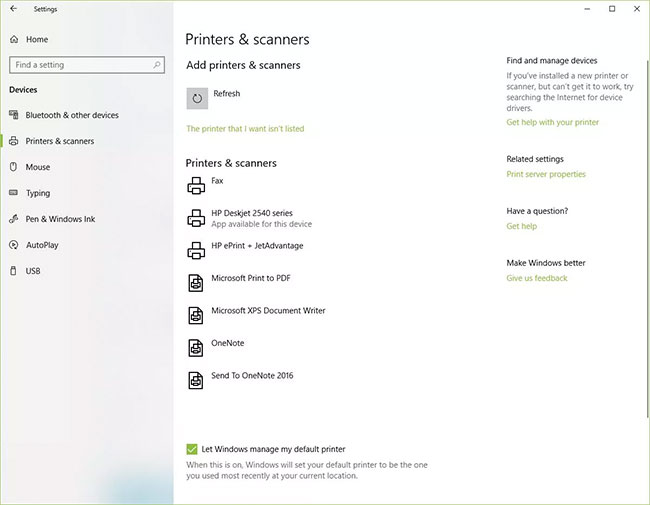
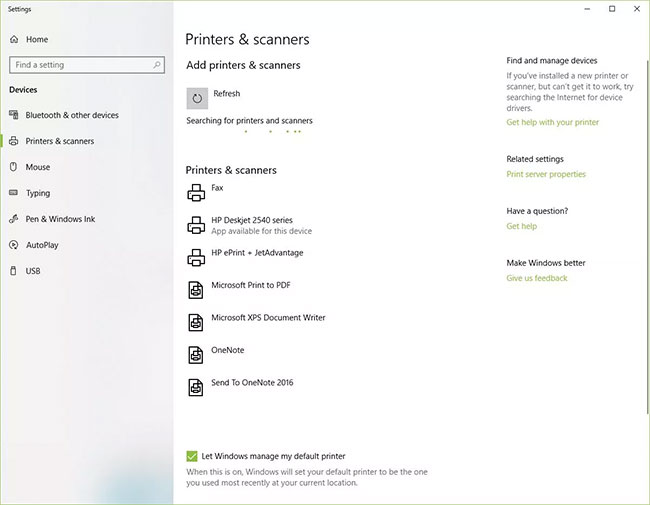
5. Wait while Windows 10 searches for nearby printers.
6. Select the name of the printer you want to add, then follow the onscreen instructions to install the printer on the computer.
7. If the printer you want to use does not appear in the list of available printers, select The printer that I want isn't listed.
8. Select the option corresponding to your printer and click Next.
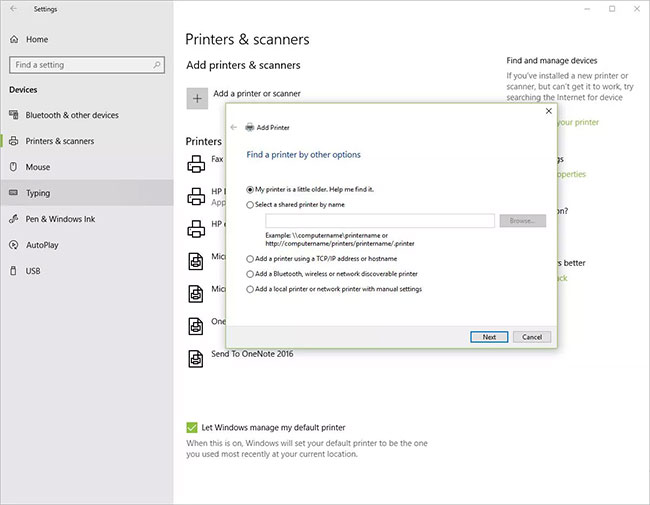
9. Follow the onscreen instructions to install the printer.
How to add a printer to Windows 10: Connect the printer directly to the computer
When you set up a new local printer (directly connecting the printer to a computer), connect the power cord as well as the USB cable to the computer. The cable connection usually starts automatically installing the driver. If prompted, you will need to download and install specialized software and printer drivers. You can then add it to your computer.
1. Enter printers in the Windows Search box.
2. Select Printers & Scanners under System Settings in the search results list.
3. Select Add printers or scanners. Wait while Windows 10 searches for nearby printers.
4. Select the name of the printer. Follow the onscreen instructions to install the printer onto the computer.
Windows 10 cannot find a printer (connect the printer directly to the computer)
If Windows 10 cannot recognize the printer connected using a USB cable, try the following troubleshooting steps.
Tip: Connect the USB cable directly to the computer. Using a hub or docking station may prevent a stable connection.
1. Turn off the computer.
2. Turn off the printer.
3. Restart the computer.
4. After the computer restarts, log back into Windows and turn on the printer.
5. Try to install a printer. If Windows still does not recognize the printer, continue troubleshooting.
6. Disconnect the USB cable from both the printer and computer.
7. Reconnect the cable, making sure it is properly connected to both devices.
8. Try to install a printer. If Windows still does not recognize the printer, continue troubleshooting.
9. Plug the USB cord into another USB port on the computer.
10. If Windows still does not recognize the printer, try using a different USB cable, because a damaged cord will prevent you from connecting the printer to the computer properly.
source: https://totaldrivers.net/tips/tips-step-by-step/item/688-how-to-add-a-printer-to-windows-10
No comments:
Post a Comment